-
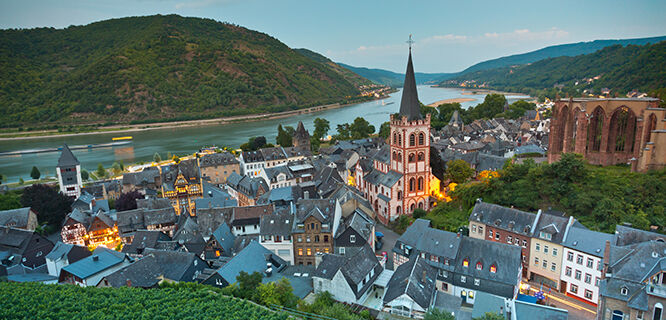
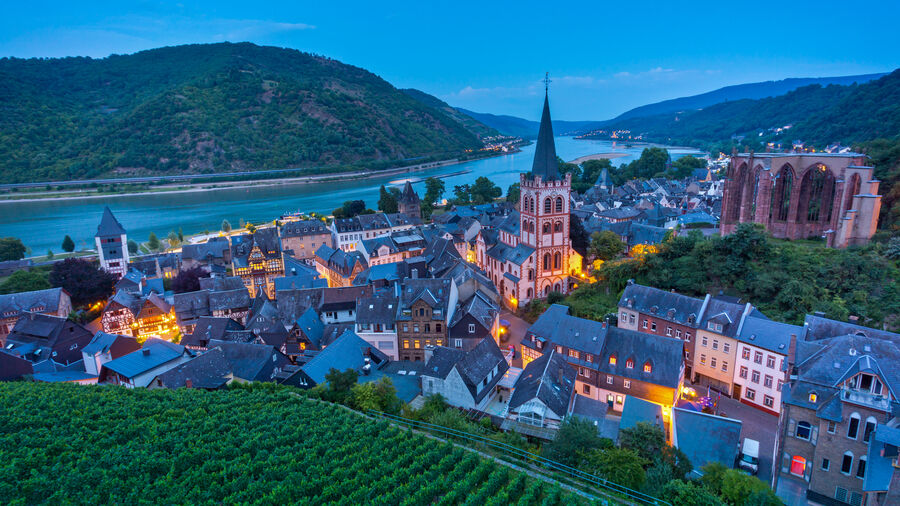
Bacharach
Rhine Valley
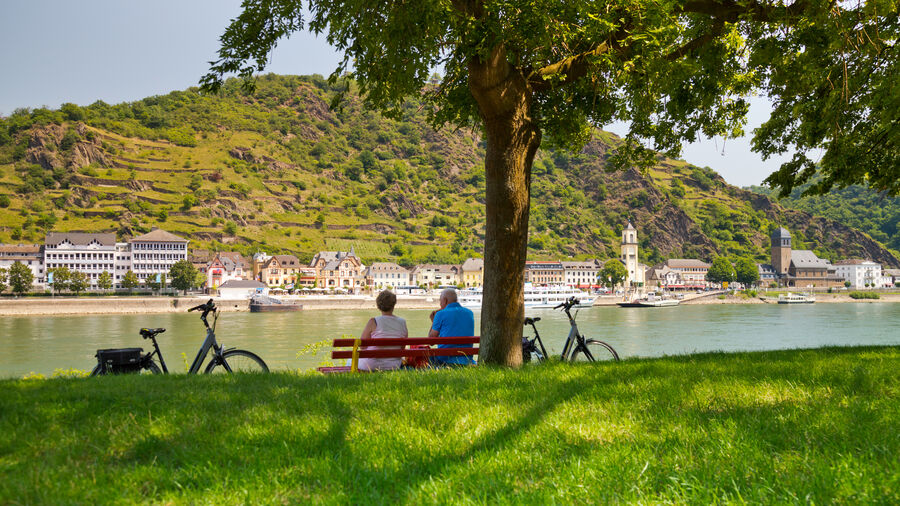
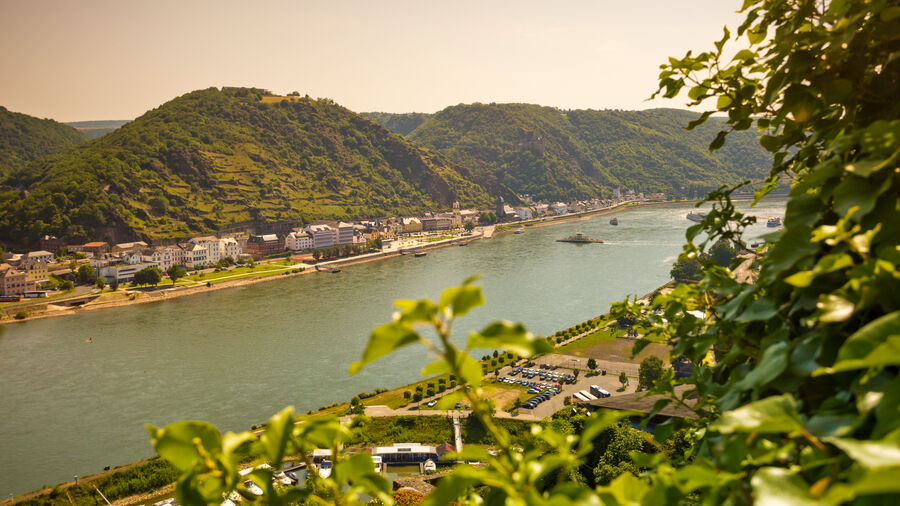
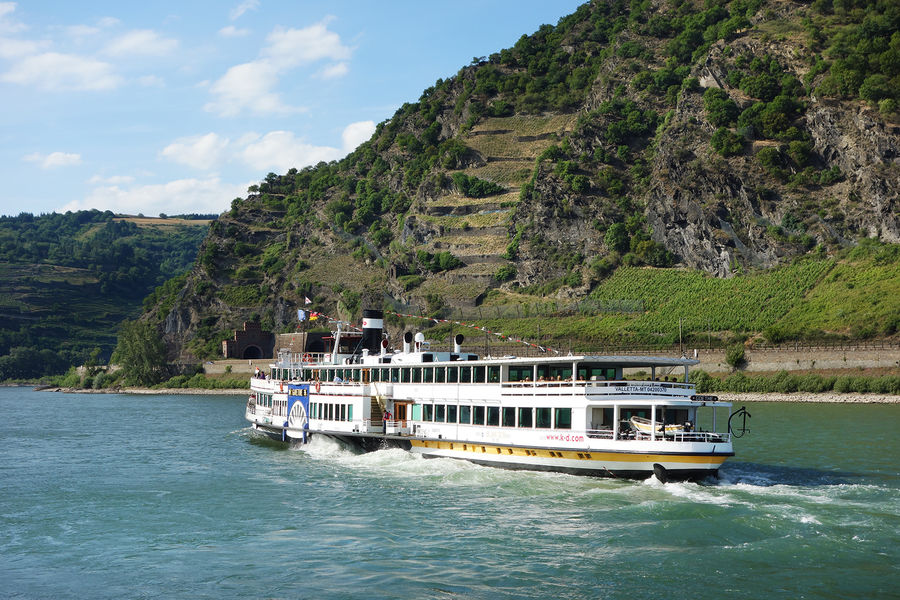
The Rhine Valley is storybook Germany, a fairy-tale world of legends and robber-baron castles. Cruise the most castle-studded stretch of the romantic Rhine as you listen for the song of the treacherous Loreley. For hands-on thrills, climb through the Rhineland's greatest castle, Rheinfels, above the town of St. Goar. Castle connoisseurs will also enjoy the fine interior of Marksburg Castle. Spend your nights in a castle-crowned village, either Bacharach or St. Goar.
Places
At a Glance
▲▲▲ Rhine Blitz Tour One of Europe's great sightseeing joys — whether enjoyed by boat, train, bike, or car.
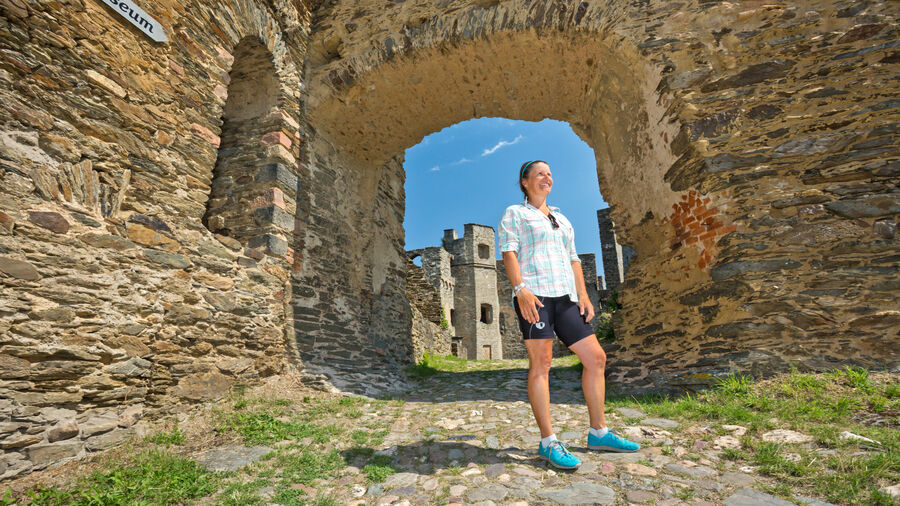
▲▲▲ Rheinfels Castle Best opportunity to explore a ruined castle on the river.
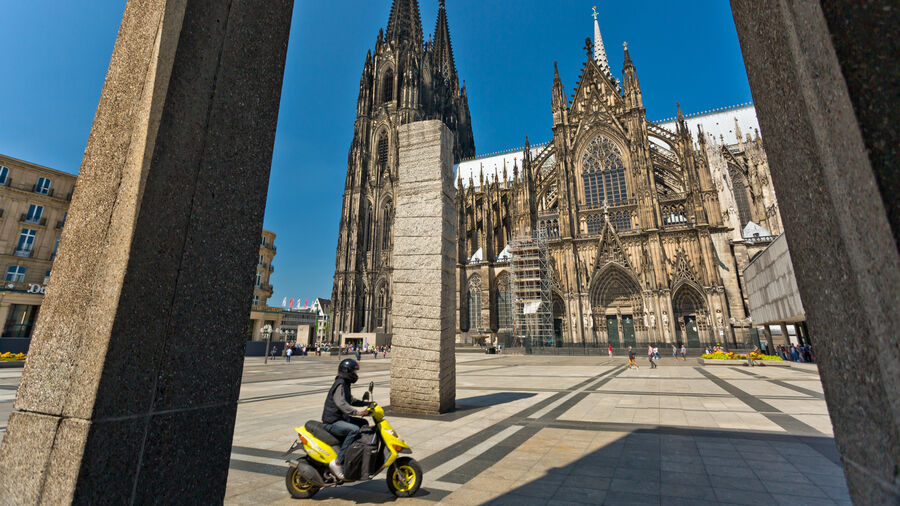
▲▲▲ Cologne Cathedral Germany's most exciting church, with a massive facade, vast interior, tower climb, and an easy-to-visit location next to Cologne's train station.
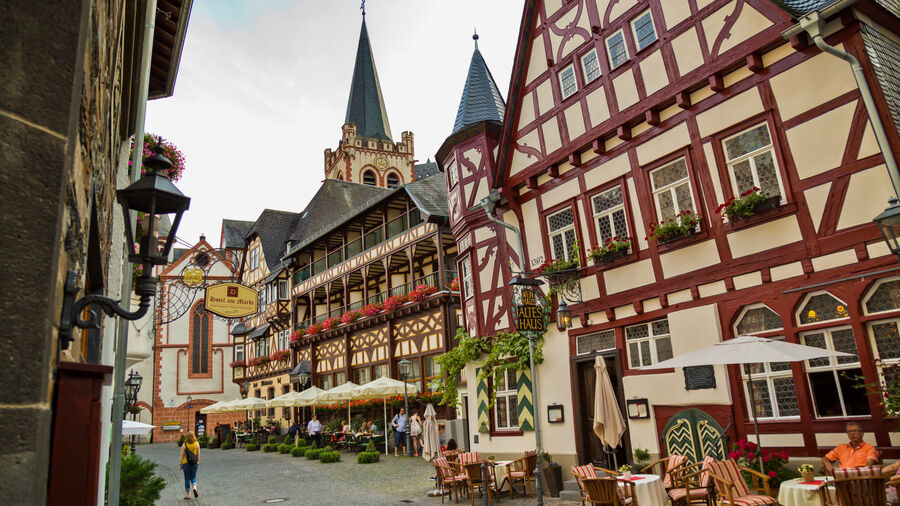
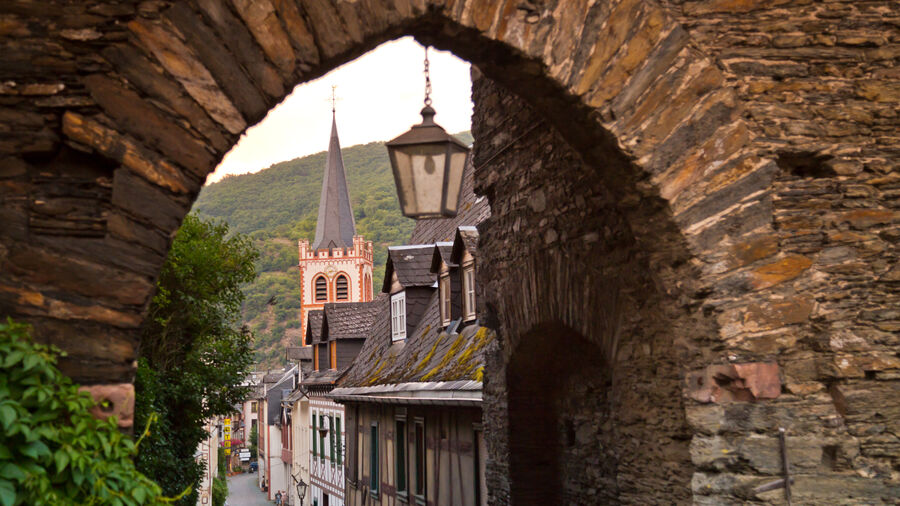
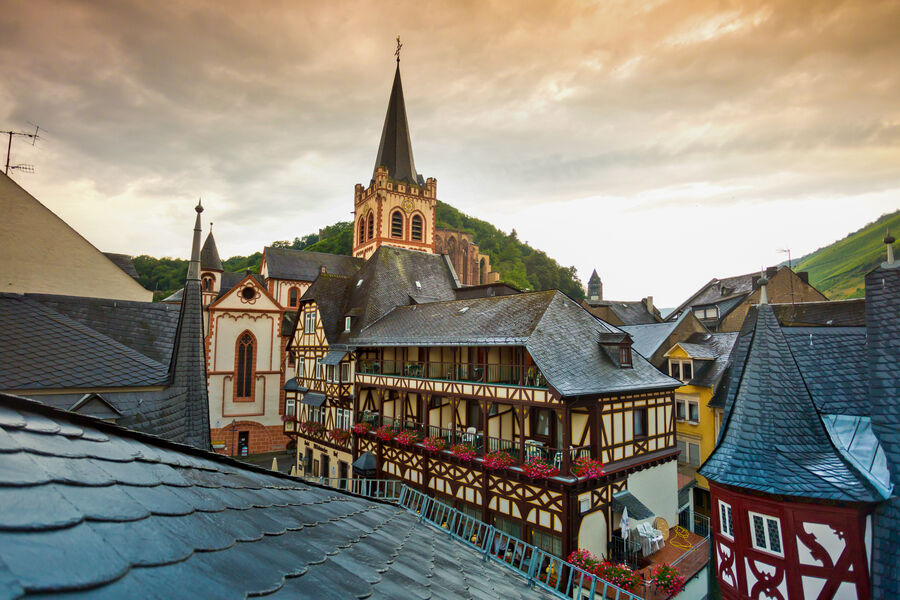
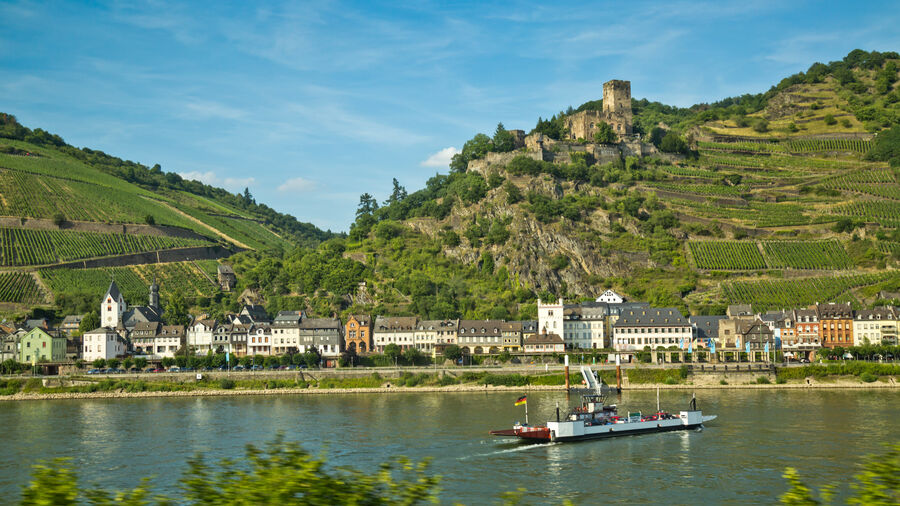
▲▲▲ Bacharach Extremely charming, easily strollable half-timbered village surrounded by vineyards, scant remains of former town walls, and a castle-turned-hostel.
▲▲ Marksburg Castle Best-preserved medieval castle on the Rhine (in Braubach).
▲▲ Rheinstein Castle Hunting palace of a 19th-century duke, with a 13th-century exterior (just upstream from Trechtingshausen).
▲ St. Goar Classic Rhine tourist town with a pleasant shopping street huddled under mighty Rheinfels Castle and just downstream from the legendary Loreley cliffs.
▲ Cologne Busy, museum-packed city worth a stop for its cathedral alone.
▲ Oberwesel Easygoing town boasting some of the best medieval wall and tower remains on the Rhine.
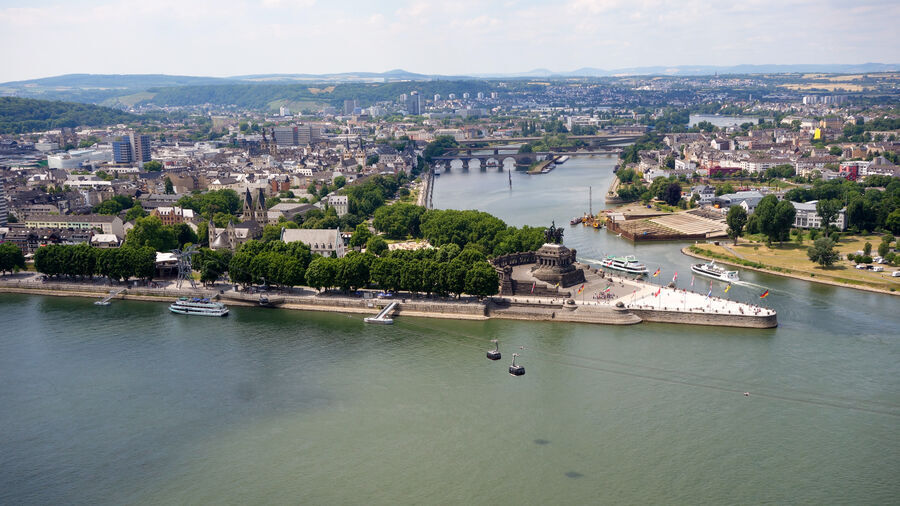
Koblenz Home to the historic Deutsches Eck ("German Corner"), the tip of land where the Mosel River joins the Rhine.
Plan
Photos


Watch
Read
Listen
Rhine Valley Audio Tours
- Best of the Rhine Tour
Listen or Download | Download map